

With “Stay at Home” public health orders in place across the United States, it seems many are finding extra time and a renewed need for their hobbies. I am no exception and the time in the evening to escape work tasks gives me a needed change of pace and time away from my kitchen table, now work station. Completing a few projects has been fun, though one painting misstep with Acrylic Floor Finish added some frustration and gave me a reason to consider practicing my techniques and possibly narrowing them down to one basic process and deciding which products I like to work with the most.
For me, the first and most important step in developing preferred painting and decaling techniques was to consider a new airbrush. I had been using a single action Badger Model 200 with siphon feed for years. I did not enjoy it, I could not seem to get fine paint control (also a function of using various paint brands and types) and it took so much paint to fill the jar up to siphon hose, clean up took as long as actual painting time. On and off I subscribe to TrainMasters TV, an online model train video series, and one of the first segments I watched was on airbrushing by a representative of Iwata airbrushes. I loved the fact that by using Vallejo paints and a gravity fed double action tool, the expert on the screen was bale to quickly and precisely paint models and cleanup the brush. Those were the things I wasn’t able to do with my current Badger setup. This is not a knock on Badger, it was the whole system that got me where I wanted to go and I am sure other brands could do that also. I believe the key was the double action for control (takes a little practice), easy cleanup and consistent paint, and the use techniques shown in the video.
I ended up purchasing an Iwata Eclipse Hp-Cs Value Set with Hose, then quickly purchased a Iwata-Medea Universal Spray Out Pot and large container of Iwata-Medea Airbrush Cleaner for easy clean up. Watching the video will show the techniques for using all of these much better than I can explain here.
The consistent paint turned out to be the Vallejo Model Air series, they are thinned for airbrushing and available in a wide variety of colors, though not mainly labeled for railroad colors. This is a big drawback, but I decided to tackle it by starting with the Vallejo Steam Engine Weathering Set I found on Amazon and then add colors available on Amazon and eBay as they were not found local to me. Their line of Model Color paints are also a good and only have to be thinned to the consistency of the Model Air paints to produce the same results. I use Vallejo airbrush thinner for this. An excellent source for additional information about spraying acrylics and color matching with Vallejo paints is available at this link, The Model Railroad Hobbyist’s Guide to Acrylic Painting… in a post-Floquil World. This was written and published by the folks at Model Railroad Hobbyist with the support of Testors.
UPDATE: An excellent source for Vallejo paints, which are not always easy to find, is fellow model railroader, George Hollwedel. He is quick, cheap, and again, is a model railroader. Send him an email proto.nscale at yahoo.com and ask him how quickly he can get you the colors you want.
UPDATE: Sometimes a desired color does not come in the Model Air series, or a Vallejo Model Color (meant for brush painting) is the best option. I have adopted a thinner for Model Color paints I found on YouTube at https://www.youtube.com/watch?v=OYyfKPouFCQ. The author suggests using a thinner mixture consisting of 8 to 10 drops of Vallejo 70.957 Retarder Medium (slows drying time) in a Vallejo 18 ml dropper bottle with the remainder of the bottle filled with approximately 30% Vallejo Thinner and 70% Vallejo Flow Improver (thins and reduces surface tension for airbrush use). To airbrush a Vallejo Model Color paint, add four parts of the mixture to one drop of paint. This mixture also aids in brush painting Model Color paints at a one to one ratio.
I have also started my own system for color matching after ordering several Vallejo brown colors that could be used on steam era freight cars. I took a piece of scrap styrene and drew lines on it to allow space for a paint sample along with manufacturer and stock number information. I had done something similar years ago with a few PollyScale and Floquil paints that I could use for comparison with the new colors. The one thing I would do differently if starting over is to have a larger paint sample space, maybe a square inch, and use an airbrush to paint the sample. A few other modelers are using Vallejo paints, and in online forums, I have heard that Model Air Rust 71.080 is a good match for early Santa Fe Brown, and Model Air German Red Brown 71.271 is a good match for early PRR FCC.

This article started when I was looking a “better” flat finish. I have used Testors DullCote for probably 40 years and have almost always had great results. The few times the results were less than stellar are probably user error. A recent online forum post led me to try Winsor & Newton Galeria Matt Varnish, which I found on Amazon. Sorry I can’t find the original post in order to give credit to the person who shared the information. The 8.4 fluid ounce container was around $12.00 which makes it considerably cheaper than DullCote.
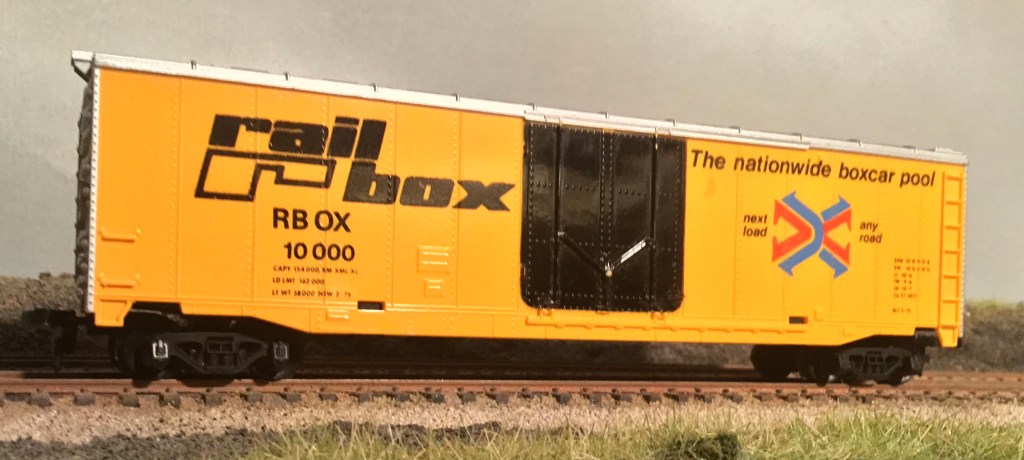
The first trial was on a boxcar from the scrap box that had a very shiny finish. The black door in the photo below show the reflection from a light several feet away. Using my Iwata airbrush I put a little bit in the paint cup without thinning. It was fairly thick but sprayed easily at 25psi and dried fairly quickly. You could see it dry as the gloss disappeared and the best part of the product is water cleanup. I sprayed warm water through the brush into the spray out pot several times and then final washed it, as I always do, with Iwata-Medea Airbrush Cleaner. I did so quickly as I wasn’t sure what could be left behind. Subsequent uses of the airbrush haven’t revealed any residue causing problems.
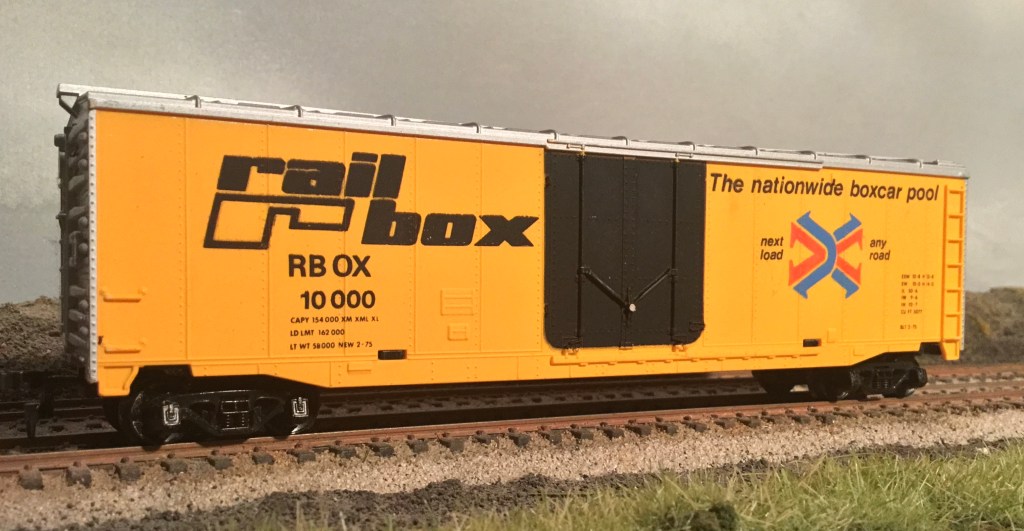
After it was dry for at least 24 hours, I wanted to see how weathering techniques might work on this finish. In the third picture you can see I applied some Tamiya Dark Gray pinwash (they call it Accent Line Accent Color) to the grabs, ladder, and lower sill and pan pastels to various places on the far end. I wasn’t trying to achieve any particular effect just determine compatibility. The application and results did not differ from what I am used to with DullCote finished models, I see that as a plus. This will be my future dull finish product.


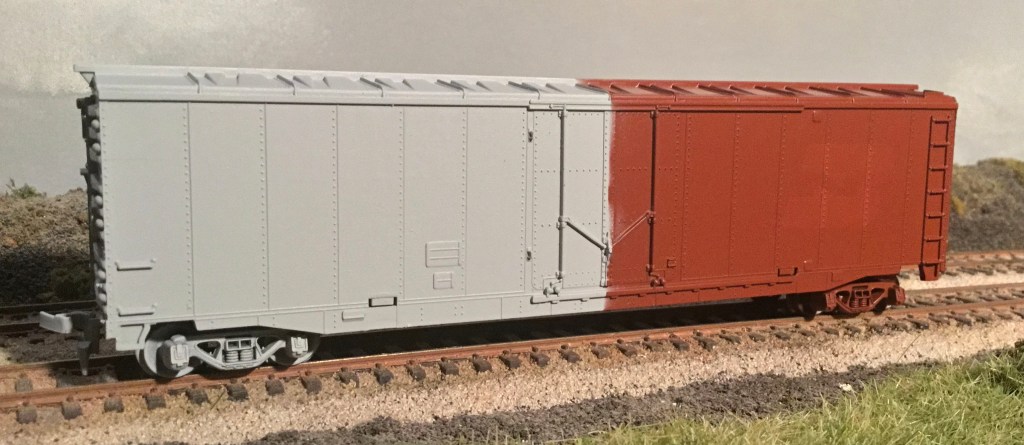
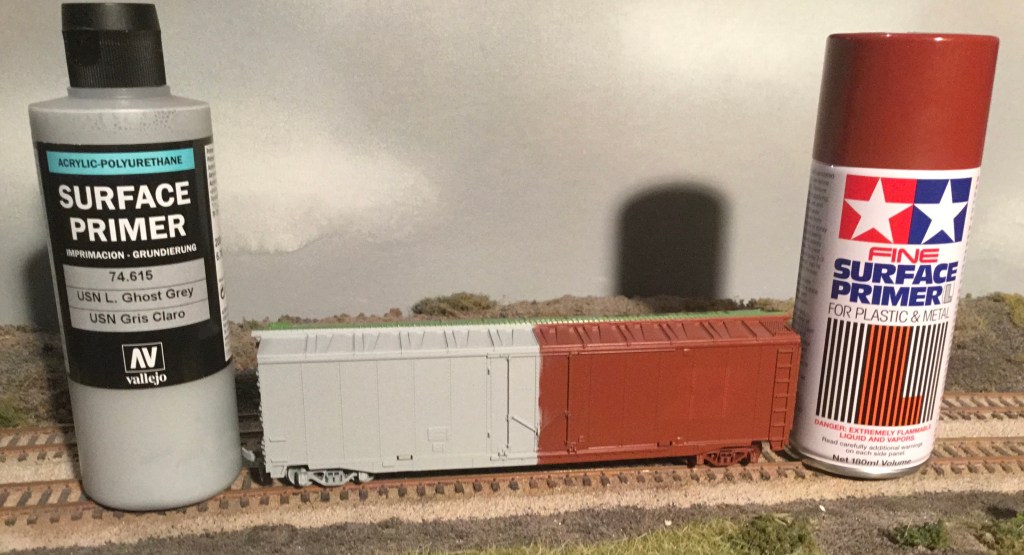
As I stated at the beginning of this blog, I haven’t thoroughly tested my techniques from start to finish, so I decided to give it a go with another shiny boxcar from the scrap box. I left the original finish intact and sprayed half the car with the primer I have been using recently, Tamiya Oxide Red Fine Surface Primer and the other half with a product I have been wanting to try, Vallejo USN Light Ghost Grey Surface Primer. The grey was not thinned and cleaned up with my standard procedure of Iwata-Medea Airbrush Cleaner and the spray out pot. The coverage was better, cleanup almost as easy as the spray can, and the cost significantly less, so I think most future projects will use the Vallejo product. For brass painting, I will probably still use the Tamiya product line for what I feel is better adhesion to the metal.
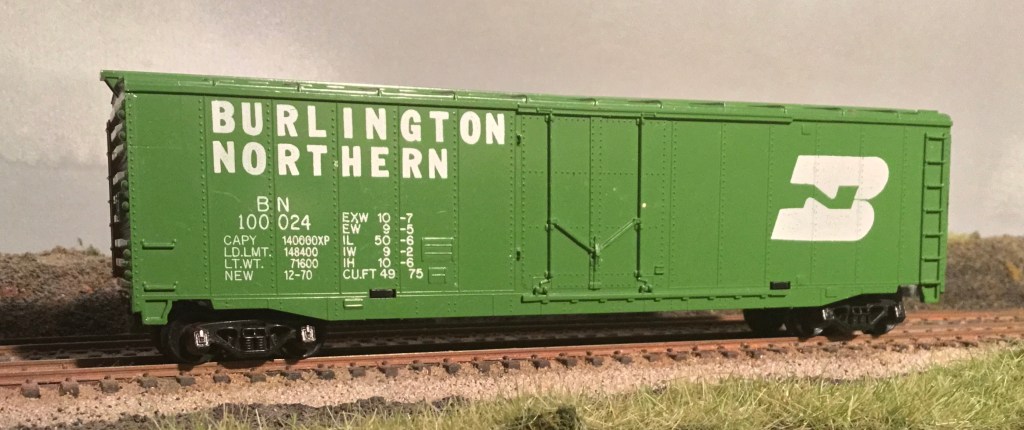
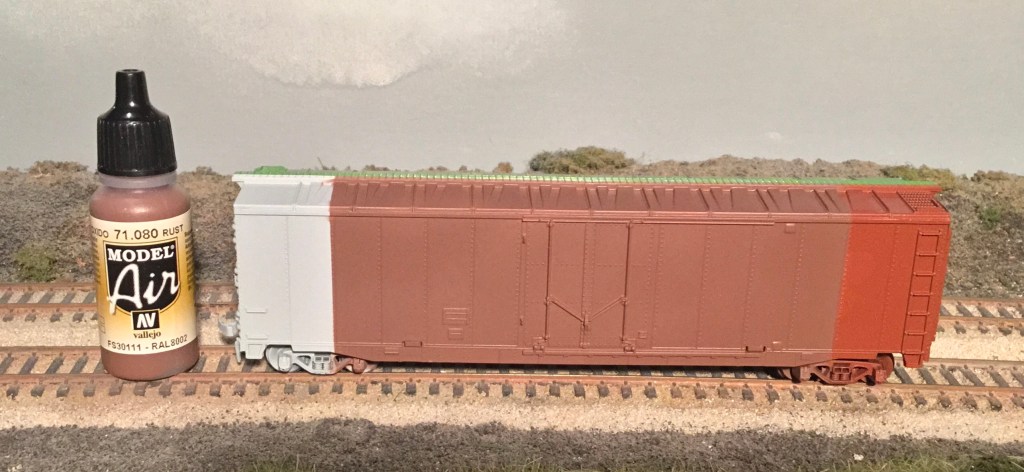
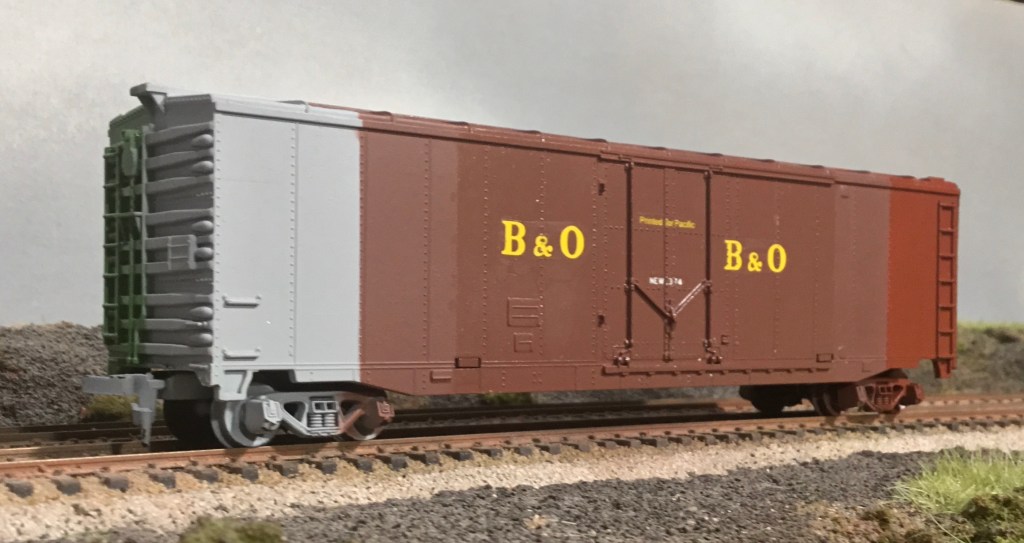
The next step was adding a coat of Vallejo Model Air Rust 71.080, a good freight car brown color. I roughly masked off the ends to keep a little primer showing and gave the model a thin coating sprayed at 25 psi. The results of both ends seem about the same.

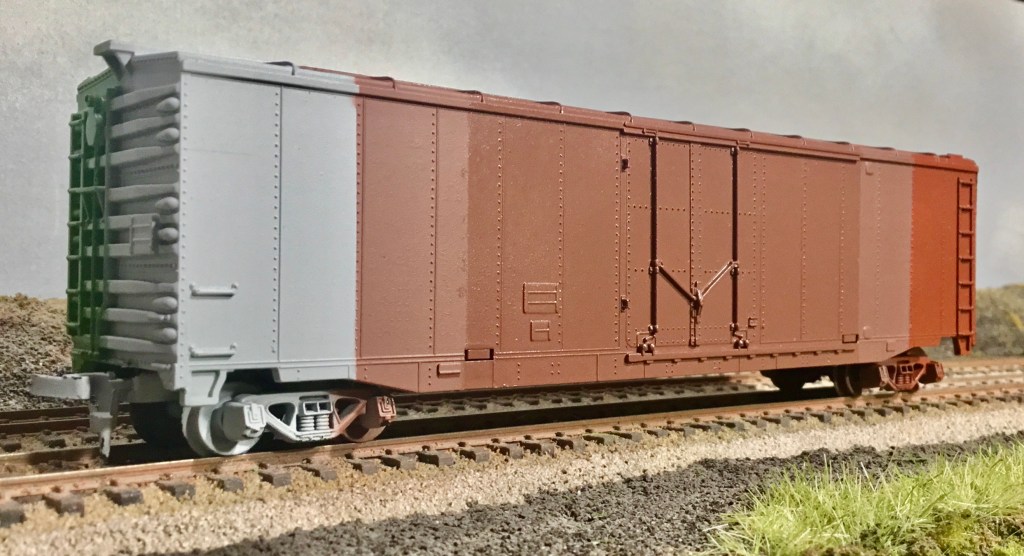
After 48 hours of dry time, the next step will be a coat of “Future” acrylic floor finish to add a glossy, smooth surface for decaling. With so many great reviews online about this product, I really want to master its use. I have used it successfully with a brush on small projects like replacing a reweigh date or adding chalk marks, but I have not done so well on larger surfaces or with an airbrush. I got the best finish on the car pictured when I dropped the air pressure to 20 psi and kept the brush back about six inches. Again, a rough masking job shows the progression of steps from the original green. As an aside, I was painting some blank decal stock green to use on B&O caboose window sashes and found that Vallejo Game Air Sick Green 72.729 is a close match to the BN Green on the original model. The second photo below shows a patch I sprayed with the Sick Green.

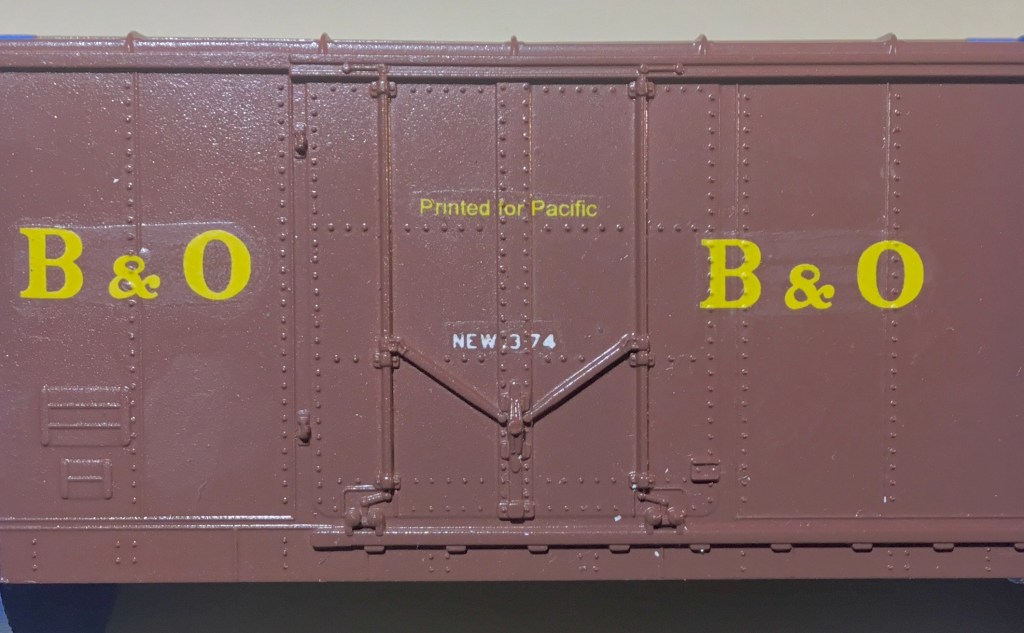
Time for some decals. Part of what started this search for a better process was the use of some very old decals on the recently gloss sprayed caboose I was working on. They disintegrated when I put them on the model, even before adding setting solution. This gave me a chance to learn about Microscale Liquid Decal Film. I used some decals from the same sheet for this project and gave them two coats of decal film. One coat didn’t seem to be enough to hold the decals together. I placed them over rivets and ribs to make it a bigger challenge. My go to has always been Walthers Solvaset so that what I went with. I ordered some Microscale Microset to try for this experiment but it didn’t arrive in time. My Solvaset technique is the lay the decal into a puddle of the distilled water I used to soak the decal and then wick up the water with the edge of a paper towel. Then I immediately apply Solvaset lightly around the edges the decal and let it wick under the decal. If there is too much and it begins to puddle I wick it off the model. I never touch the decal when the Solvaset is wet and I usually keep the model lying flat. I repeat several times over the course of a few hours and watch everything blend into the rivets and seams to know when to say when.
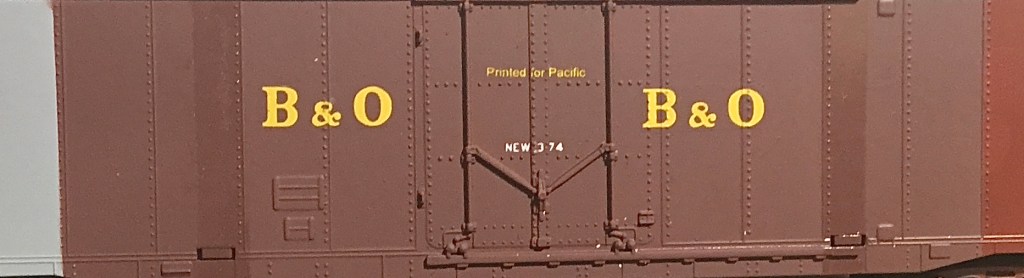
And a final coat of Matt Varnish to seal the deal. Again, I sprayed at 25psi, straight from the container, and covered the surface with just enough to get a solid gloss shine before it dries. It flashes off very quickly and cleans up with water.

This adventure started when I wanted to test a new matt spray finish and it has sold me on that product. Dullcote was becoming expensive and sometimes unreliable because of the spray can nozzles. Now I am more comfortable with the acrylic floor finish and feel like I have a total finishing system that is repeatable and easy to airbrush. Time to finish the caboose I was working on. Stay safe!

Bruce, You’re OK as long as Gojira doesn’t show up; hopefully the Japan Modular Group will keep him occupied.
JT
LikeLike
Great article and great results. Lots of good tips for me. I’ve been meaning to try “future” and now I’m interested in the Galleria.
Thanks.
LikeLike