
Let me start my blog by offering some of my initial ground rules. This will start as a way to follow my journey of modeling the B&O. Hence the domain name. I will show some things I am working on and try to share more complete versions of some things in the B&ORRHS’s B&O Modeler magazine.
My journey to build this layout started with a 4’x8’ sheet of 3/8” plywood and a frame to hold it up in the early 70’s. My dad built it and I used an Atlas snap track plan from a small book and built a double mainline loop with two sidings. I read a lot of magazines and I was convinced I needed a double wishbone to have some “operations”. To me that meant two or more trains running on a mainline and passing each other. I like watching trains. I added 2”x 2” legs and 1”x 2” risers to support my expanded and multi-level layout. It looked good, but never operated well, derailments were frequent.
I was twelve, so what did I know. I got to build stuff and learn some lessons. Flash forward a few years. I worked as a trackman on the B&O during my college summers in the early 80’s. Hard work, but it paid well and taught me more lessons. My best summers were spent on the Old Main Line. After the first hard summer on a tie gang, I was able to hold a job working out of Sykesville, MD. This was a union job and seniority mattered. I chose jobs that would end before school started to keep my seniority. Our duty station was in the old station, the main lobby had a few lockers and that is where I reported to work and changed clothes each morning and afternoon. The old fire station across the parking lot was a sandwich shop and I always got an egg on toast sandwich before work.

As opposed to a tie gang that replaced 500 ties a day on the lines between Philly and DC working on a production unit with machines, this was paradise. My first day on the tie unit, the spike pulling machine was stolen and me and another guy had to work ahead of the unit and pull at least 1,000 spikes each for the day. Spikes are pulled with a 5 foot, 30 lb. claw bar. It was a good workout, trust me.
Sykesville was a just couple of jobs a day with 3 other trackman and a foreman in the quiet park-like setting. Jobs were things like manually replacing three ties, adding stone and tamping up a low, mud spot, or working with a welding crew out of Charlestown, WV to add Boutet welds in place of joint bars put in place for the new (since Hurricane Agnes) signaling system.
Those days, along with my desire to model the steam era when my father, uncle, and grandfather worked for the railroad drew me to my layout topic. In my younger days I always dreamed of modeling from Camden Station to Point of Rocks Station, but eventually I decided I needed to get some trains running again and not just build things for that someday layout. Watching Don Barnes showed me how much effort and resources that it takes to build such a large layout. Lesson learned.
Moving back to Baltimore after years in North Carolina gave me the chance to start a layout. I live 600 feet from the old PRR Line north from Baltimore to York, but couldn’t bring myself to model it. It is now called the NCR Trail, using the old line’s original name, the North Central Railroad. I do get to bike along it any time I want. I am part of a B&O family, my grandfather Emmitt was the stationary engineer for the B&O Building, my father Ken spent his career in safety and casualty prevention, and my uncle Jack was in passenger operations. My aunt’s father-in-law was an engineer on the original tunnel motors under Howard Street. You are what you are…
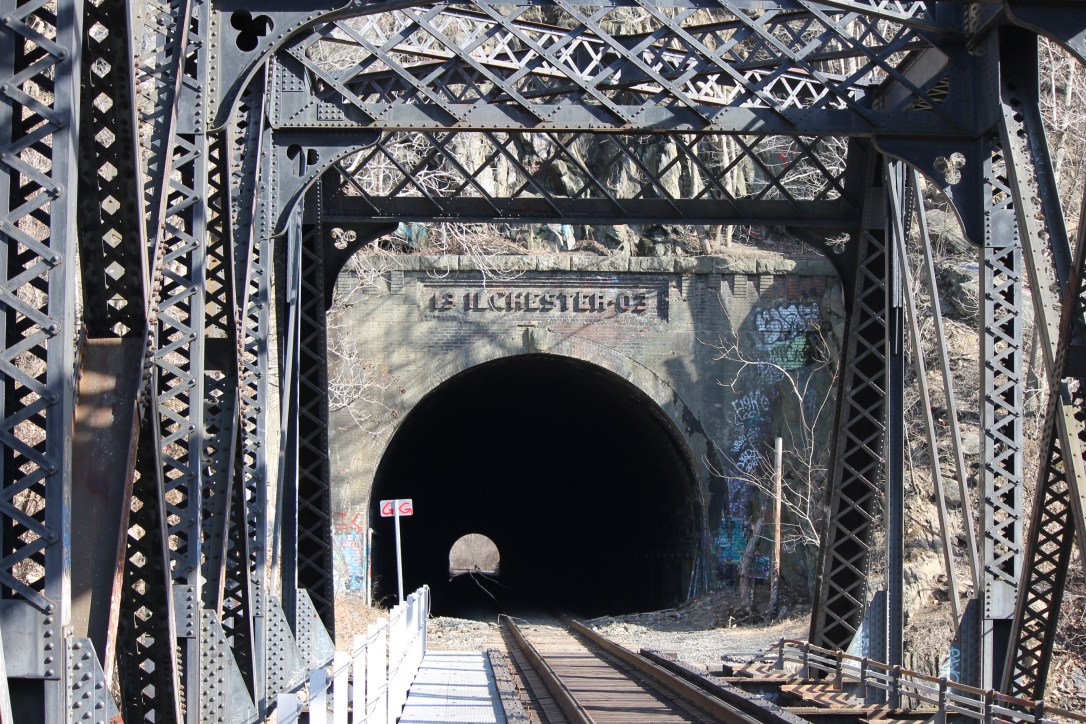
Take a look at this video. It is taken from on top of the hill at Buzzard’s Rock, like my favorite photo of Ilchester. I will update it along the way to show the progression of the layout. I just added sound to these old Proto2k Alcos and I need to finish backdating them to match their as-delivered look (a future blog). My favorite thing is the way the headlight looks non-descript but as the angle changes the original equipment dual sealed-beams become apparent.
