
The one thing I have noticed that is absent from model railroad blogs is painting and modifying HO scale figures. I never paid much attention to them and then I realized from photos of other’s layouts that they add an important dimension. Scale. Nothing makes a steam locomotive look larger than than life in HO scale, then a ground level photo with a figure being dwarfed by the driving wheels.

When modeling a figure for my layout, the first thing I do is add a piece of very stiff K&N .015 steel music wire into one of the figure’s feet. I drill a hole and use ACC glue to add a short piece to make it easy to stick the figure into a block of rigid foam board insulation for painting and when complete, into the layout scenery. The steel wire is sturdy enough to push through many scenery materials to allow the figures to be repositioned when desired.
There are only a few railroad figures available that are a good fit for my summer 1950 era layout. The main change I am making to the figures available is to the hat, nothing says eastern railroader like a blue-striped cap with a blue band and bill, though individual style was always important and variation abounded. Clothing colors were lighter than one might have expected in some cases, so dark blue denim overalls are not always the only choice. And I find it helps to emphasize shadows on the figure’s clothing if I give them a thin wash of Tamiya 87131 Panel Line Accent Color Black or 87199 Dark Gray depending on the clothing color.


While some railroad specific figures come with hats that look appropriate, others do not. This one’s hat looks like it belongs on a fishing boat in the Mediterranean, not the look I want. So I am using a little Vallejo Plastic Putty 70.401. It is acrylic and a little thinner than Squadron Green Putty. It is also meant for thin coats, so don’t put it too thick or it won’t dry. After a little shaping with a sanding stick and paint, he is ready to help an engineer couple to a string of boxcars.


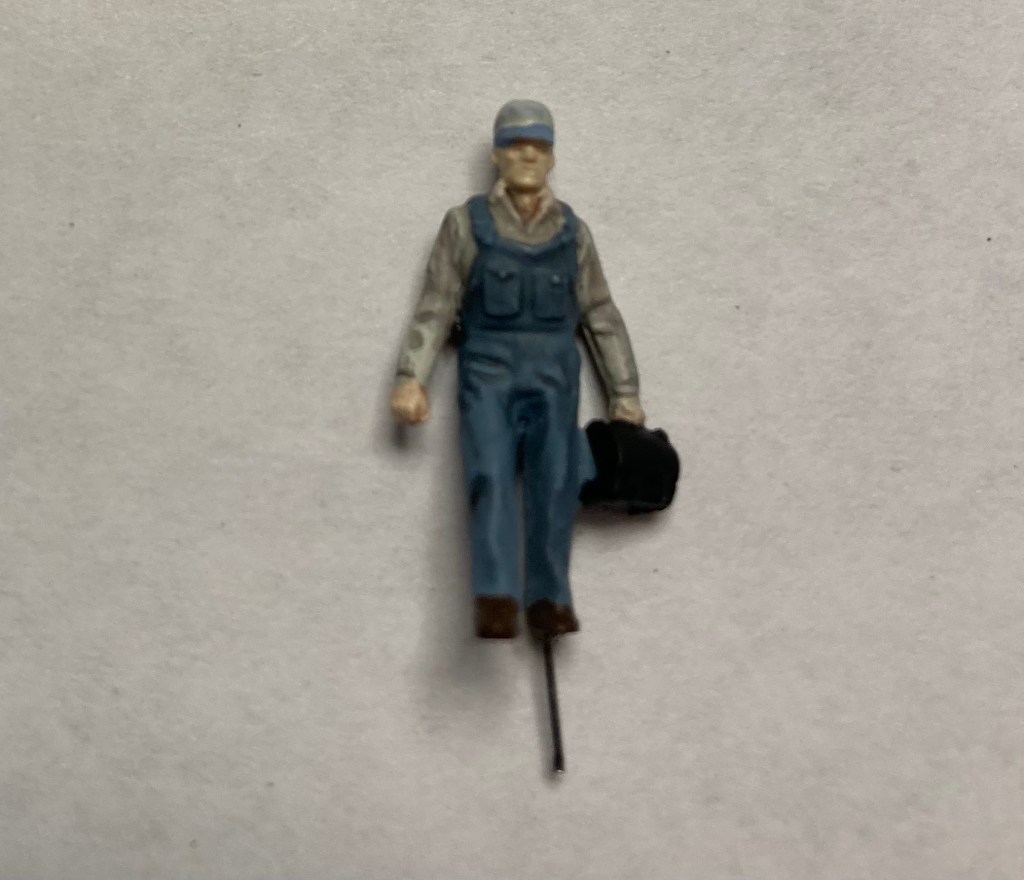
I call this guy lunchbox guy. Is he done for the day or just starting? I don’t have a visible terminal on my layout so I needed to repurpose him and his twin. One quick change was to add a flag made of thin brass sheet and rod to allow him to become the Way Freight’s flagman setting off from the caboose to protect the rear of the train and enjoy the coffee in his thermos lunchbox.


Another modification I have made is with standardizing my Caucasian flesh tone. I like Vallejo Model Color Basic Flesh Tone 70.815 for a base and will lighten and darken it for shadows. I tried using a pin wash of dark gray but it was too dark, I got better results doing the wash first and then using several thin layers of the flesh tone overtop. It also helps if the figure is well sculpted, as seen in the photo of the guy leaning on the truck. This Preiser figure has excellent facial features that can be highlighted with thin washes of color.

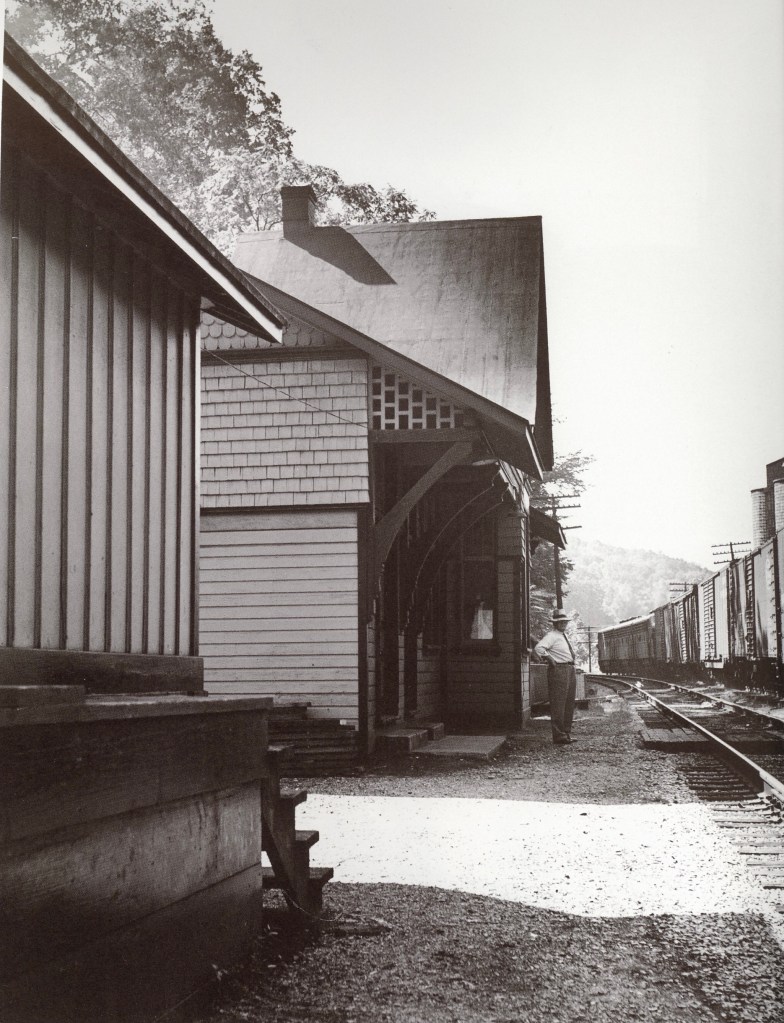
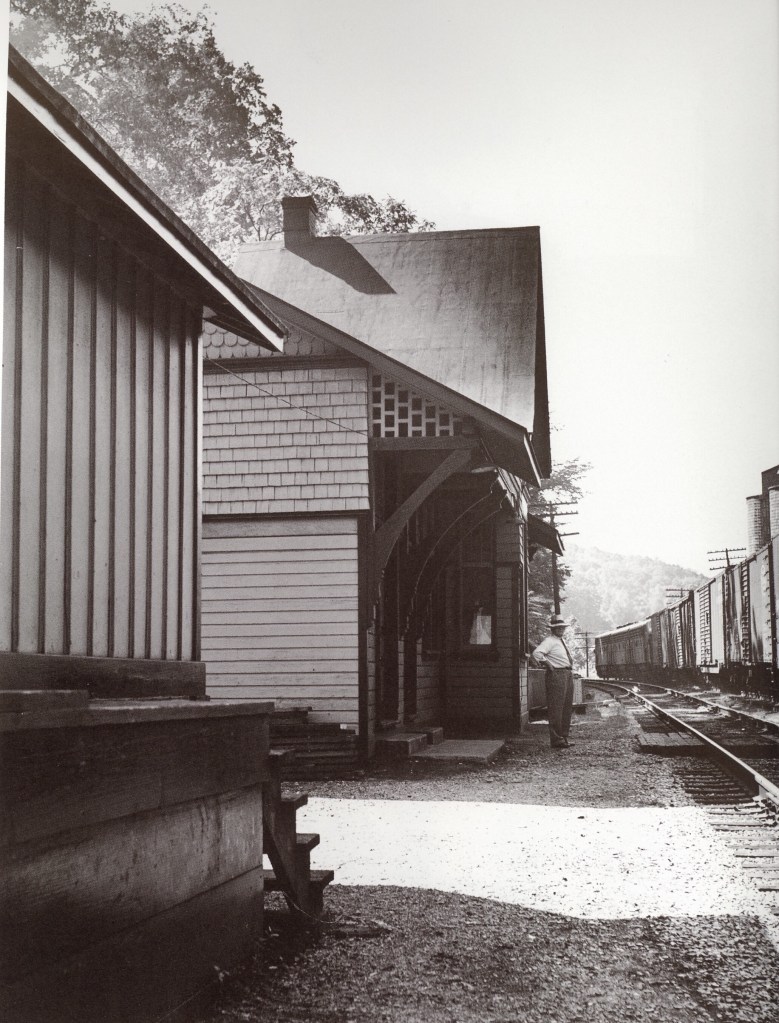
One final figure project. I found this rotund gentlemen with a tie, that could be a stand-in for the Station Agent in the photo below, though he needs the straw hat.

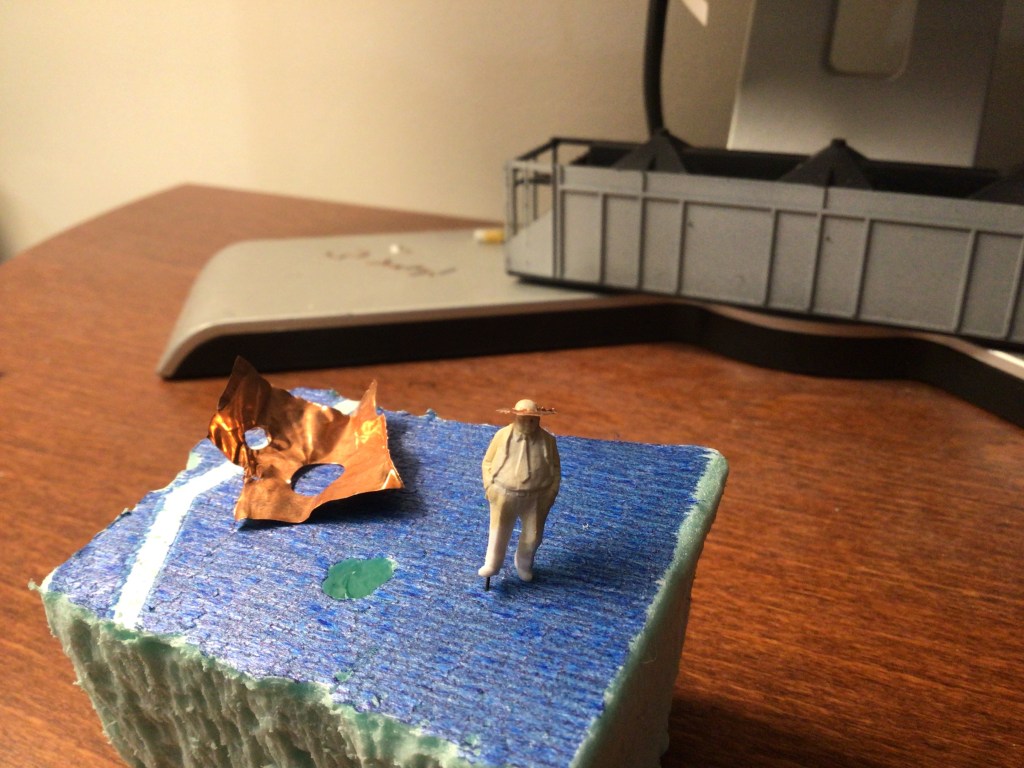
To build a straw hat for the Station Agent I used some hole punches and some thin brass sheet to create a hat brim.


In larger scales military modelers have created techniques to paint more realistic faces on their figures. I may try that in the future, but for now, these few basic upgrades allow me to add a few figures to the layout and give casual viewer a better sense of the scale of the models.
